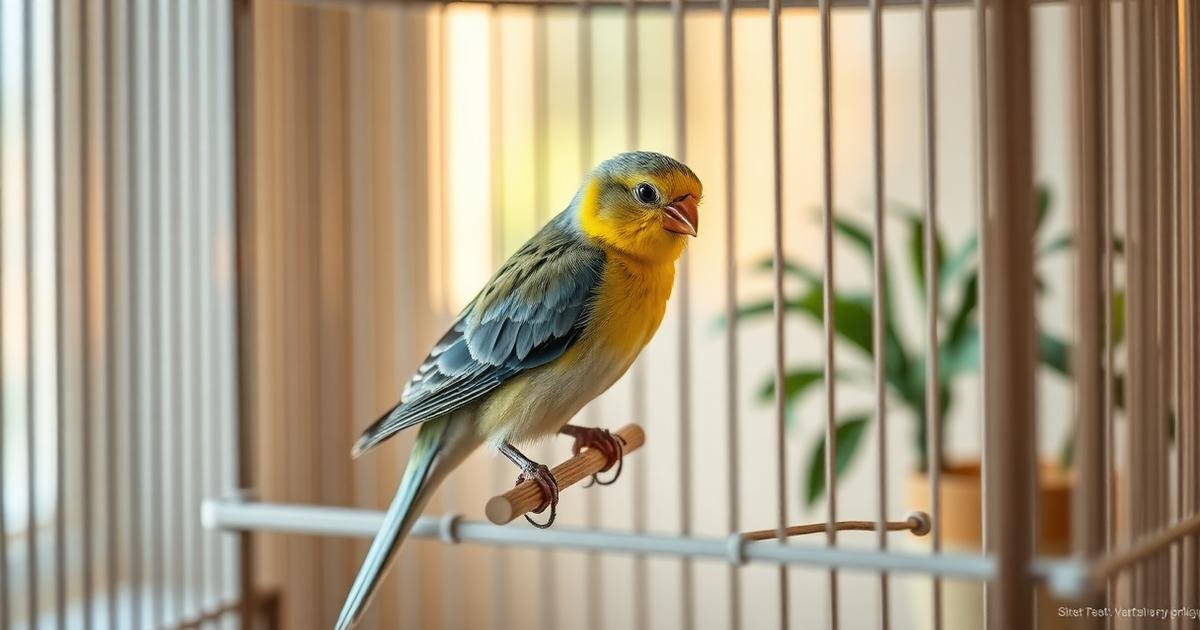
You love your feathered friend, but that cage can feel like a never ending chore. You're not alone — every bird owner wrestles with keeping the habitat fresh and odor-free. The key to learning how to clean bird cage properly isn't about scrubbing harder; it's about understanding your bird's waste patterns, choosing the right tools, and establishing a routine that prevents bacteria buildup before it starts. A structured approach saves you time, protects your bird's health, and makes the task feel manageable rather than overwhelming.
How to clean bird cage properly: Clean your bird cage properly by spot-cleaning droppings daily, deep-cleaning with a bird-safe disinfectant weekly, and replacing all substrate. The root causes of a dirty cage are insufficient daily maintenance, using toxic cleaners, ignoring perches and toys, and not having a structured schedule.
Quick Answer: How to clean a bird cage properly?
Clean your bird cage properly by spot cleaning droppings daily, deep cleaning with a bird safe disinfectant weekly, and replacing all substrate. The root causes of a dirty cage are insufficient daily maintenance, using toxic cleaners, ignoring perches and toys, and not having a structured schedule. A clean cage prevents respiratory infections and feather plucking.
For a complete guide on this topic, see the Pet Bird Care Guide.
This how to clean bird cage properly decision works best when the owner compares daily fit, tolerance, and practical consistency together.
Why Your Bird's Cage Gets Dirty So Fast
It feels like you just cleaned it, and already there's a mess. Most owners underestimate how much waste a single bird produces daily. Understanding the root causes helps you clean smarter, not harder.
For many homes, the right how to clean bird cage properly choice is the one that stays reliable under ordinary daily conditions.
High Metabolic Rate Means Frequent Droppings
Birds have incredibly fast metabolisms. A small parakeet can produce 20–30 droppings per day. That's not a sign of illness — it's normal biology. You can't stop the waste, but you can manage it with daily spot-cleaning.
A well matched how to clean bird cage properly option should support the pet clearly without making the routine harder to maintain.
Food Scatter and Seed Hulls
Birds are messy eaters. They hull seeds, toss pellets, and drop fresh food onto the cage floor. This creates a breeding ground for bacteria within hours. Using a seed catcher or feeding station outside the cage can reduce floor mess by research suggests 50%.
Most owners get better long term results when how to clean bird cage properly is judged through routine use rather than a single product claim.
Improper Cage Liners
Newspaper is fine for lining the tray, but it doesn't absorb moisture well. Wet newspaper breaks down quickly and allows ammonia fumes to build up. Switch to paper based cage liners or pelleted bedding designed for birds.
Inadequate Deep Cleaning Frequency
Spot cleaning daily is essential, but it's not enough. Bacteria, fungi, and mites thrive in crevices that only get cleaned during a weekly deep-clean. If you skip this, your bird's respiratory health suffers.
Using the Wrong Cleaning Products
Many household cleaners leave toxic residues that birds inhale or ingest. Birds have extremely sensitive respiratory systems. Bleach, ammonia, and scented products can cause immediate distress or long term lung damage.
Pro Tip: Keep a dedicated spray bottle with a 50/50 mix of white vinegar and water near the cage. Use it for daily spot cleaning of perches and tray liners. It's safe, effective, and you won't worry about toxic fumes.
Root Cause Decision Tree for Cage Cleaning Problems
Match your specific observation to find the fastest fix:
| What you observe | Likely root cause | First fix to try |
|---|---|---|
| Strong ammonia smell within 24 hours of cleaning | Inadequate daily spot-cleaning; wet substrate | Switch to absorbent pelleted bedding; spot clean twice daily |
| Food waste scattered everywhere outside the cage | No seed catcher or feeding station | Add a cage skirt or place food bowls in a low mess feeding area |
| Droppings stuck to perches and bars | Perches have rough texture; cleaning too infrequent | Replace with smooth, washable perches; scrub perches weekly |
| Bird shows respiratory symptoms (sneezing, tail bobbing) | Toxic cleaner residue or ammonia buildup | Stop all chemical cleaners; deep clean with vinegar solution; ventilate cage area |
| Feather plucking or skin irritation near vent area | Unsanitary conditions causing bacterial or fungal infection | Deep clean entire cage immediately; schedule vet visit for skin assessment |
| Cage looks clean but smells musty | Bacteria growing in cracks or under tray | Disassemble cage fully; scrub all joints and tray rails with bird safe disinfectant |
When This Is NOT Just About Cleaning
Sometimes a dirty cage signals a health problem, not a cleaning failure. According to the
If your bird was previously tidy but suddenly starts soiling perches, sleeping in food bowls, or producing watery droppings, stop cleaning and observe. These changes can indicate gastrointestinal infections, kidney disease, or liver problems.
Watch for these red flags that require a vet visit:
- Sudden increase in droppings volume or watery consistency lasting more than 24 hours
- Blood in droppings or around the vent area
- Fluffed feathers, lethargy, or sitting at the bottom of the cage
- Loss of appetite combined with messy cage conditions
- Any behavior change in a bird over 7 years old — rule out arthritis or organ disease
Pro Tip: Keep a small notebook by the cage. Note daily droppings volume, consistency, and color. This baseline helps you spot health changes before they become emergencies. Share your notes with your avian vet.
Enrichment Protocol for a Cleaner Cage
A busy bird makes less mess. Bored birds tend to scatter food, play in water bowls, and create chaos. Enrichment reduces destructive behavior and keeps the cage cleaner longer. Implement this 4-part protocol consistently for 2 weeks:
- Physical exercise: At least 60 minutes of supervised out-of cage flight or climbing time daily. A tired bird sleeps more and messes less.
- Mental stimulation: Rotate 3–4 foraging toys every 2 days. Hide treats in paper cups or cardboard rolls. This occupies their beak and reduces food scattering.
- Chew and shred outlet: Provide untreated wood, pine cones, or palm leaves for chewing. Birds that shred appropriate items won't destroy perches or cage liners.
- Training session: 10 minutes daily teaching "step up" or target training. Focused mental work reduces anxiety driven messing behaviors.
Within 1–3 weeks, you should see a research suggests 40% reduction in food waste and a cleaner cage floor between cleanings.
Product Buying Criteria for Cage Cleaning Supplies
Before you buy any cleaning product, understand what makes it safe and effective for birds. The wrong product can harm your bird faster than a dirty cage.
What to Look For
- Bird safe disinfectant: Look for accelerated hydrogen peroxide (AHP) or chlorhexidine based formulas. Avoid phenols, bleach, and ammonia.
- Non toxic cage liners: Choose paper based or pelleted liners that trap moisture and odor. Avoid cedar or pine shavings — they release harmful oils.
- Washable perches: Rope, acrylic, or smooth wood perches clean easily. Avoid sandpaper perches that trap debris and irritate feet.
- Spray bottle with fine mist: A fine mist covers more surface area with less product. This reduces overspray and residue.
- Scrub brushes with stiff bristles: Nylon or silicone brushes reach into cage bar joints. Avoid metal brushes that scratch powder coated finishes.
Pro Tip: For daily cleaning between deep-cleans, use a handheld vacuum with a crevice tool. It picks up seed hulls and feathers in 2 minutes without disturbing your bird. Keep it dedicated to the cage area.

Step-by Step Deep-Cleaning Routine You Can Follow
You know you need to deep clean weekly, but the actual steps often get skipped. Here's a repeatable process that takes 30–45 minutes total. Follow these steps in order to avoid cross-contamination.
Step 1: Remove Your Bird and All Accessories
Move your bird to a safe, temporary cage in another room. Remove every perch, toy, food bowl, and water dish. Take the cage tray out and discard all old liner material. This clears the workspace completely.
Step 2: Pre Soak Dried-On Debris
Spray the entire cage — bars, tray rails, and corners — with a 50/50 white vinegar and water solution. Let it sit for 10–15 minutes. The acid breaks down calcium deposits from droppings and loosens stuck on food particles.
Step 3: Scrub Every Surface
Use a stiff nylon brush to scrub all bars, joints, and the tray. Pay special attention to corners where bacteria hide. For powder coated cages, use mild dish soap instead of vinegar to avoid damaging the finish. Rinse thoroughly with warm water.
Step 4: Disinfect with a Bird Safe Product
Apply a bird safe disinfectant like F10SC or chlorhexidine solution to all surfaces. Follow the label's contact time — usually 5–10 minutes. Never skip this step. Disinfecting kills bacteria and fungi that scrubbing alone misses.
Step 5: Rinse and Dry Completely
Rinse every surface with clean water to remove all disinfectant residue. Dry the cage with a clean towel or let it air dry in a well ventilated area. A damp cage promotes mold growth. Wait until everything is bone dry before reassembling.
Step 6: Clean Accessories Separately
Soak perches, toys, and dishes in hot, soapy water. Scrub them with a dedicated brush, rinse, and dry. Replace any toys that are frayed, cracked, or heavily soiled. Wooden perches may need replacement every 3–4 months.
Step 7: Add Fresh Liner and Reassemble
Place fresh cage liner or pelleted bedding in the tray. Return perches, toys, and dishes to their original positions — birds feel secure with familiar layouts. Then return your bird to its clean habitat.
Pro Tip: Set a recurring weekly alarm on your phone for deep cleaning day. If you miss a week, don't double up the next week — just resume the normal schedule. Consistency matters more than intensity.
Troubleshooting Matrix for Common Cage Cleaning Challenges
| Behavior pattern | Likely cause | What to do |
|---|---|---|
| Cage smells within 12 hours of cleaning | Substrate not absorbing moisture; waste pooling | Switch to pelleted bedding; spot clean twice daily; improve cage ventilation |
| Bird refuses to enter cage after cleaning | Residual cleaner smell or rearranged layout | Use unscented cleaners only; return perches and toys to exact positions |
| Droppings stick to cage bars permanently | Dried on waste that wasn't spot-cleaned | Soak bars with vinegar solution for 10 minutes before scrubbing; use a plastic scraper |
| Feather dust coating everything within 2 days | Normal for cockatoos, African greys, and cockatiels | Increase air filtration with a HEPA filter; wipe bars with damp cloth daily |
| Water bowl gets dirty within hours | Bird bathing in water or dropping food in it | Use a water bottle instead of an open bowl; or change water twice daily |
| Mold growing on bottom of cage tray | Excess moisture from wet food or spilled water | Remove wet food after 2 hours; check for leaks in water bottle; replace tray liner daily |
| Bird plucks feathers near vent area | Unsanitary conditions causing skin irritation | Deep clean entire cage; apply avian safe topical spray; schedule vet exam within 48 hours |
How to Choose the Right Cage Liner for Your Bird Species
Not all cage liners work equally well for every bird. Your choice affects odor control, cleaning frequency, and your bird's health. Match the liner to your bird's size, waste volume, and behavior.
Paper Based Liners for Small Birds
Finches, canaries, and budgies produce drier droppings with less volume. Plain newspaper or paper cage liners work fine. Change them every 2–3 days. Avoid colored ink sections — the dyes can be toxic if chewed.
Pelleted Bedding for Medium to Large Birds
Conures, cockatiels, and African greys produce wetter, more voluminous waste. Pelleted bedding made from recycled paper absorbs moisture and traps odors effectively. Replace it every 3–4 days. This reduces ammonia buildup significantly.
Corn Cob Bedding for High Moisture Environments
In humid climates, corn cob bedding absorbs excess moisture better than paper. It's ideal for large parrots like macaws and cockatoos. However, watch for mold growth — replace it at the first sign of dampness. Never use it if your bird has a history of fungal infections.
What to Avoid at All Costs
Never use cedar or pine shavings. They release aromatic oils that damage birds' respiratory systems. Avoid cat litter — it contains clumping agents that birds can ingest and that cause intestinal blockages. Sand sheets are also problematic; they abrade feet and trap bacteria.
Pro Tip: Test two different liner types for 2 weeks each. Note which one keeps the cage drier and less smelly between cleanings. Your bird's specific waste consistency determines the best choice — not marketing claims.
Keep your bird healthy with the right cleaning tools and supplies — from bird safe disinfectants to absorbent cage liners.
Browse Bird Care Options →
For broader reference and guidance, akc.org provides useful context on pet health and care decisions.
For broader reference and guidance, petmd.com provides useful context on pet health and care decisions.
Frequently Asked Questions
How often should I completely disinfect my bird cage?
Deep clean and disinfect the entire cage once per week. This means removing all perches, toys, and dishes, scrubbing bars and tray with bird safe disinfectant, rinsing thoroughly, and drying completely before reassembly. Daily spot cleaning handles the mess between deep-cleans.
Can I use bleach to clean a bird cage?
No, never use bleach inside a bird cage. Bleach fumes are toxic to birds' sensitive respiratory systems. Even diluted bleach leaves harmful residues. Use accelerated hydrogen peroxide or a vinegar water solution instead for safe, effective cleaning.
What's the best way to clean bird poop off cage bars?
Spray dried droppings with undiluted white vinegar and let sit for 10 minutes. The acid breaks down calcium deposits. Scrub with a stiff nylon brush, then rinse with water. Never use steel wool — it scratches the cage coating and creates rust points.
My bird only makes a mess at night — why?
Birds often produce more droppings overnight because they digest food while sleeping. Cover the cage with a breathable cover to contain mess, and line the tray with extra absorbent bedding. Spot clean first thing each morning to prevent ammonia buildup.
Will a messy cage make my bird sick?
Yes, absolutely. Unsanitary conditions promote bacterial and fungal growth that causes respiratory infections, skin irritation, and feather plucking. Ammonia fumes from accumulated droppings directly damage a bird's lungs. Cleanliness is non negotiable for bird health and longevity.
How do I clean a bird cage with powder coating?
Use only mild dish soap and warm water on powder coated cages. Avoid vinegar or citrus cleaners — they can strip the coating over time. Rinse thoroughly and dry with a soft cloth. Scratched coating exposes metal that can rust and leach toxins into the environment.
Can I use a steam cleaner on my bird cage?
Yes, steam cleaners are safe for stainless steel cages. The high heat kills bacteria without chemicals. Avoid steam on powder coated cages — the heat can damage the finish. Always let the cage cool completely before returning your bird.
How do I remove mineral deposits from water bowls?
Soak bowls in undiluted white vinegar for 30 minutes. The acid dissolves calcium and mineral buildup. Scrub with a bottle brush, rinse thoroughly, and dry. For stubborn deposits, use a paste of baking soda and water before rinsing.
Check out our complete overview of how to train pet bird to talk for more information.
Check out our complete overview of ultimate guide to bird care for more information.